Homemade Sage Soap: An Herbal Melt-and-Pour Project
There is something quietly satisfying about cutting a loaf of handmade soap into bars. The process is methodical, the ingredients are visible, and the finished product carries a scent that synthetic versions rarely capture. This sage soap recipe uses melt-and-pour base as its foundation, making it one of the more approachable entry points into herbal soap making. No lye handling, no lengthy cure times. Just a clean workspace, a few quality ingredients, and a little patience.
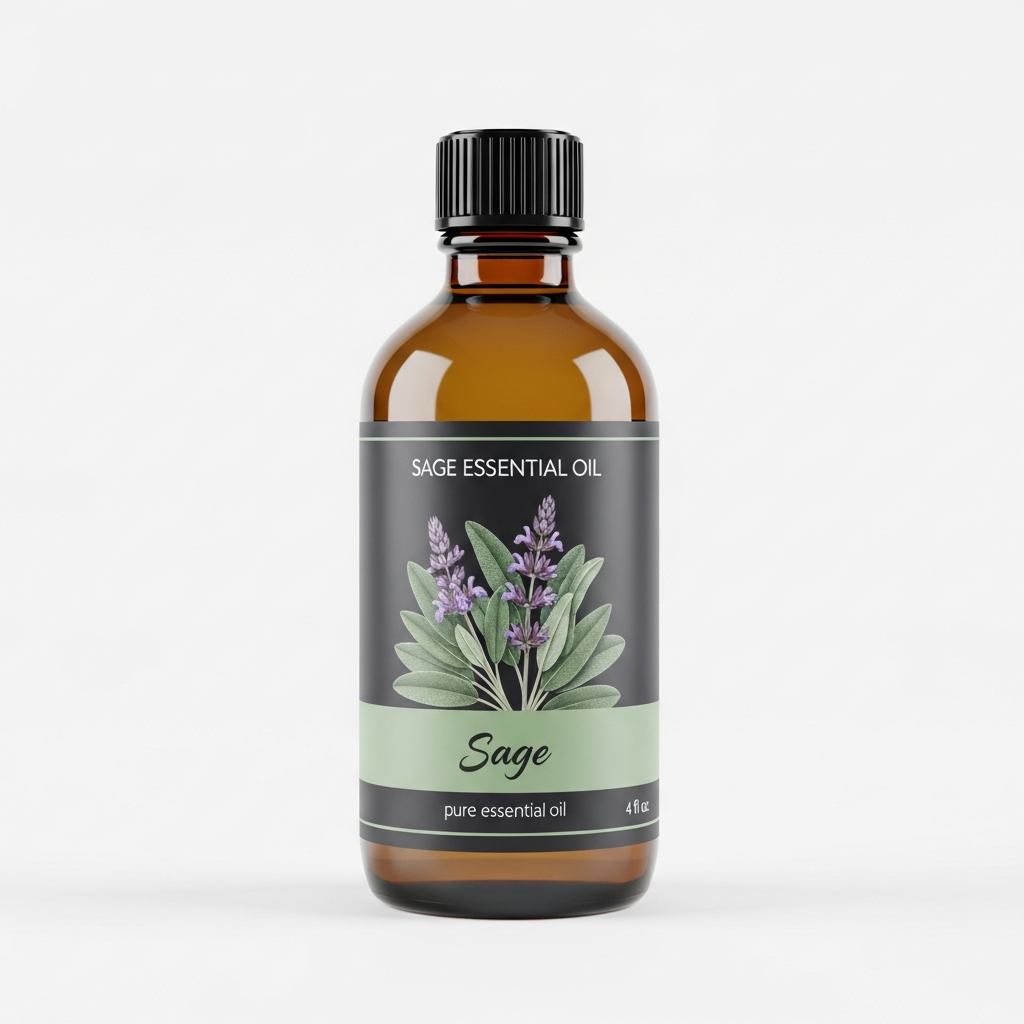
Garden sage essential oil brings a dry, slightly camphoraceous green note that reads as distinctly herbal rather than floral or sweet. It pairs beautifully with the neutral canvas of a shea butter or goat milk melt-and-pour base, and it gives the finished bar a grounded, earthy character that works well in a morning shower or an evening wind-down ritual. If you are new to essential oil projects, this is an excellent starting point. If you have made soap before, the variation ideas toward the end of this article may push the project in some interesting new directions.
Before You Begin: A Note on Sage Essential Oil in Cosmetic Use
Garden sage (Salvia officinalis) essential oil is potent. It contains notable levels of thujone and camphor, which means careful dilution is not optional. For leave-on skin products, a dilution of 0.5% to 1% is the widely cited cosmetic guideline. For rinse-off products like soap, slightly higher usage rates are sometimes discussed in formulating communities, though conservative practice still recommends staying within reasonable limits.
In this recipe, the sage essential oil is used at approximately 1% of the total base weight, which falls within standard cosmetic usage guidance for a rinse-off product. Do not increase the amount without researching usage rates from a qualified aromatherapy or cosmetic formulation resource.
For a broader look at how sage oil fits into home and skin care routines, the complete guide to sage oil uses covers dilution principles, skin types, and blending in much more detail.
Project Overview
| Detail | Info |
|---|---|
| Difficulty Level | Beginner-friendly |
| Active Prep Time | 20 to 30 minutes |
| Setting Time | 1 to 2 hours at room temperature (or 30 minutes in refrigerator) |
| Yield | Approximately 8 to 10 bars, depending on mold size |
| Shelf Life | Up to 12 months when stored properly |
Ingredients
Base Recipe (makes approximately 32 oz / 900g of finished soap)
- 32 oz (900g) melt-and-pour soap base (shea butter, goat milk, or clear glycerin base all work well)
- 9 grams sage essential oil, distilled from Salvia officinalis (approximately 1% of base weight)
- 1 tablespoon dried sage leaf, finely crumbled or powdered (optional, for visual texture)
- 1 teaspoon sweet almond oil or fractionated coconut oil (optional, adds a small skin-feel benefit)
- Cosmetic-grade colorant in green or clay tones (optional)
- 91% isopropyl alcohol in a small spray bottle (for removing surface bubbles)
Equipment
- Large microwave-safe glass measuring cup or double boiler setup
- Digital kitchen scale
- Silicone soap mold (loaf style or individual cavity molds)
- Wooden skewer or chopstick for stirring
- Sharp knife and cutting board if using a loaf mold
- Thermometer (optional but useful)
Step-by-Step Instructions
Step 1: Prepare Your Workspace
Clear a clean, flat surface near your microwave or stovetop. Set your silicone mold on a stable tray or cutting board so you can move it without spilling once filled. Have your isopropyl alcohol spray bottle within reach. Weigh out your dried sage and any colorants ahead of time so the process moves smoothly once the base is melted.
Step 2: Chop and Weigh the Soap Base
Cut the melt-and-pour base into roughly 1-inch cubes. Smaller pieces melt more evenly and reduce the risk of overheating. Weigh out 900g (32 oz) on your digital scale and place it into your glass measuring cup or the top of your double boiler.
Step 3: Melt the Base
Microwave method: Heat in 30-second bursts at 50% power, stirring between each interval. The base is ready when it is fully liquid with no visible solid chunks. This usually takes 2 to 3 minutes total, depending on your microwave.
Double boiler method: Place your glass container over a pot of gently simmering water and stir periodically until fully melted. Avoid boiling or overheating. Overheated base can develop a cloudy, grainy texture and the scent of some components may be affected.
Ideal pouring temperature is between 120°F and 135°F (49°C to 57°C). If you have a thermometer, use it. If the base is too hot when you add the essential oil, some of the more volatile aromatic compounds may dissipate.
Step 4: Add Optional Botanicals and Colorant
If you are using a cosmetic-grade colorant, stir it into the melted base now. Start with a small amount and build gradually. A green clay or a soft sage-toned mica will complement the herbal scent nicely. Stir until fully incorporated with no streaks.
Add the dried sage leaf at this stage if using. Note that botanical material in soap can occasionally cause the bar to go off faster over time, so bars with dried herbs are best used within six to eight months.
Step 5: Add the Essential Oil and Carrier
Let the base cool to around 130°F (54°C) before adding your sage essential oil. This is an important step. Pouring essential oils into very hot base wastes both the scent and the quality of the oil. Add your 9 grams of sage essential oil and your optional teaspoon of sweet almond or fractionated coconut oil. Stir slowly and steadily for about 30 seconds. Avoid vigorous stirring, which creates bubbles.
Step 6: Pour Into Molds
Pour the scented base into your silicone mold in a slow, steady stream. Fill to your desired bar height. Immediately after pouring, spritz the surface lightly with isopropyl alcohol. This pops surface bubbles and gives the bars a smooth, professional finish. Wait about 30 seconds, then spritz once more if bubbles remain.
Step 7: Allow to Set
Leave the mold undisturbed at room temperature for one to two hours, or place it in the refrigerator for 30 minutes if you want to speed things up. The bars are ready to unmold when they feel firm and pull slightly away from the edges of the mold. Avoid freezing, which can cause condensation issues.
Step 8: Unmold and Cut
Gently flex the silicone mold to release the bars. If using a loaf mold, allow a full two hours before unmolding and then use a sharp knife to cut into individual bars. A gentle sawing motion gives cleaner edges than pressing straight down.
Safety Warnings and Contraindications
Please read this section carefully before making or using this recipe.
- Patch test: Before using any new soap on your body, apply a small amount of lather to the inside of your wrist or elbow crease. Wait 24 hours and check for any redness or irritation. Discontinue use if a reaction occurs.
- Dilution matters: This recipe is formulated at approximately 1% essential oil concentration, which is appropriate for a rinse-off product. Do not increase the sage essential oil quantity beyond what is listed. Higher concentrations increase the potential for skin sensitivity.
- Pregnancy and nursing: Garden sage essential oil is not recommended for use during pregnancy or while nursing. Consult a qualified healthcare provider before use.
- Children: This soap is not recommended for children under 10. Keep essential oils and finished products out of reach of young children.
- Sensitive skin: Individuals with reactive or delicate skin should use this product with additional caution and consider a lower-concentration version using a milder base.
- Not for internal use: This is a cosmetic product only. Do not ingest.
- Consult a healthcare provider: If you have any underlying health considerations, please speak with a qualified healthcare professional before incorporating new products into your routine.
Storage Instructions and Shelf Life
Wrap finished bars individually in wax paper, plastic wrap, or shrink wrap. This protects the surface from dust and prevents the glycerin in the base from attracting moisture from the air (a phenomenon sometimes called glycerin dew, which causes small droplets to form on the bar surface). Unwrapped bars can still be used but may look less pristine over time.
Store wrapped bars in a cool, dry location away from direct sunlight. A linen closet shelf or a drawer works well. Avoid humid environments like bathrooms for long-term storage.
- Without dried botanicals: Up to 12 months
- With dried sage leaf added: Best used within 6 to 8 months
The scent of sage essential oil can soften over time as the more volatile aromatic compounds gradually dissipate. Bars stored in airtight wrapping tend to hold their fragrance longer.
Variations and Substitutions
Variation 1: Sage and Cedarwood
Substitute 3 grams of the sage oil with 3 grams of cedarwood (Virginia or Atlas) essential oil. Keep the remaining 6 grams as sage. The result is a warmer, woodier bar with a softer herbal opening. This combination works particularly well in a dark amber-tinted base.
Variation 2: Sage and Lemon
Use 6 grams of sage oil and 3 grams of lemon essential oil. Lemon brightens the herbal character considerably and gives the bar a cleaner, citrus-forward top note. Use a clear glycerin base with this blend so the color stays light and translucent.
Variation 3: Exfoliating Sage Bar
Add one tablespoon of finely ground oat flour or pumice powder (cosmetic grade) to the melted base before pouring. This adds a gentle physical texture to the bar that some people prefer in a hand or foot soap. Stir well to distribute the exfoliant evenly before pouring.
Soap Base Substitutions
The recipe works with most commercially available melt-and-pour bases. Goat milk base produces a creamier lather and a slightly warmer color. Clear glycerin base gives a jewel-like translucent finish if you skip the colorant. Shea butter base has a more opaque, creamy appearance and adds a soft feel to the bar.
Fragrance-Only Option
If you prefer to skip the essential oil entirely and use a sage-type fragrance oil instead, follow the fragrance oil manufacturer's usage rate recommendation for melt-and-pour soap. Fragrance oils vary significantly in strength, and the 1% guideline for essential oils does not necessarily apply to synthetic fragrance.
Taking the Project Further
Soap is a practical introduction to working with sage essential oil in cosmetic formats, but it is far from the only option. If you enjoyed blending sage into a base here, the same oil opens up interesting possibilities in beard and grooming products. The DIY sage beard oil guide walks through a carrier oil blend that showcases the oil's drier, more resinous aromatic qualities.
Sage also carries well in diffusion. If you have leftover essential oil after this project, it is worth experimenting with it in an ultrasonic diffuser before committing to another cosmetic application. The sage oil diffuser blends article covers pairing ratios and room context in useful detail.
Making soap at home rarely stops at a single batch. Once the process becomes familiar, the variations multiply quickly. A loaf of sage and cedarwood soap for the bathroom shelf. A lighter lemon-sage bar by the kitchen sink. Small wrapped bars tucked into a gift bag with a sprig of dried garden sage. The ingredients stay the same; the combinations keep the project interesting.