DIY Sage and Citrus Candles: An Earthy Soy Candle Tutorial
There is something grounding about the scent of garden sage. Paired with the brightness of citrus, it creates a fragrance profile that feels both rooted and refreshing. This sage candle DIY walks you through everything you need to make a beautiful, clean-burning soy candle at home, from selecting your wax to pouring your final vessel.
Soy wax is a natural choice for essential oil candles. It burns cooler and more slowly than paraffin, which helps preserve the aromatic integrity of delicate botanicals like sage essential oil. The result is a candle that fills a room with a steady, nuanced scent rather than an overpowering blast.
This tutorial is written for anyone curious about candle making. No prior experience is required, though a careful, patient approach will serve you well.
Before You Begin: A Note on Garden Sage Essential Oil
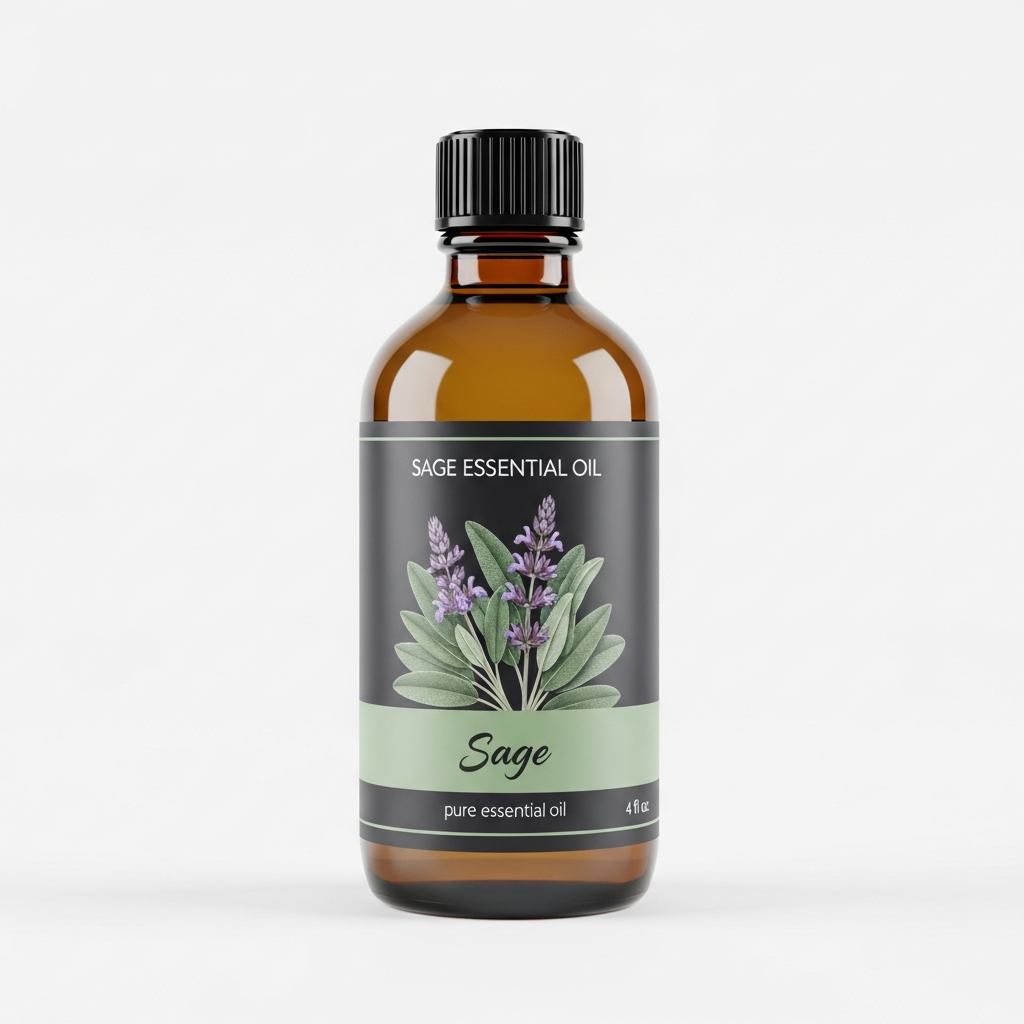
The oil used in this recipe is steam-distilled garden sage (Salvia officinalis), not clary sage or white sage. These are distinct oils with different scent profiles and compositions. Garden sage carries an herbaceous, slightly camphorous character that anchors the lighter citrus notes beautifully. If you want to explore more about this oil and its many uses beyond candle making, the complete guide to sage oil uses is a helpful starting point.
Project Overview
| Detail | Info |
|---|---|
| Difficulty Level | Beginner-Friendly |
| Active Prep Time | 30 to 40 minutes |
| Cooling and Cure Time | 24 to 48 hours minimum |
| Yield | Two 8-ounce candles |
| Estimated Burn Time | 40 to 50 hours per candle |
Ingredients and Supplies
Wax and Fragrance
- 16 oz (454 g) natural soy wax flakes, container-grade
- 48 drops (approximately 2.4 mL) garden sage essential oil (Salvia officinalis), steam-distilled
- 24 drops sweet orange essential oil (Citrus sinensis)
- 12 drops bergamot essential oil (Citrus bergamia), bergapten-free if possible
Hardware
- Two 8-ounce heat-safe glass or ceramic container vessels
- Two pre-tabbed cotton candle wicks sized for an 8-ounce vessel (check manufacturer sizing charts)
- Wick stickers or a small dot of melted wax to anchor wicks
- Two chopsticks, pencils, or wick bars to center wicks during pour
- A double boiler or a heat-safe pouring pitcher set in a pot of water
- A candy or candle thermometer
- A kitchen scale accurate to 1 gram
- A silicone spatula
- Rubbing alcohol and paper towels for cleanup
Safety Warnings: Read Before You Start
Important: Candle making involves hot wax and open heat sources. Review all safety information carefully before beginning.
Heat Safety
- Never melt wax directly on a stovetop burner. Always use a double boiler or a water bath. Wax is flammable above its flash point.
- Keep a fire extinguisher or a metal lid nearby. Never use water to extinguish a wax fire.
- Do not leave melting wax unattended.
- Keep children and pets away from your work area during the entire process.
Essential Oil Safety in Candles
- The fragrance load in this recipe is approximately 6% of total wax weight. This falls within the generally recommended range of 5 to 10% for soy wax candles.
- Do not exceed 10% fragrance load. Higher concentrations can affect burn quality and may create excessive scent throw or pooling issues.
- Garden sage essential oil should not be used by people who are pregnant, nursing, or have a history of seizures. These candles are not intended for use around infants. Always ensure good ventilation when burning any scented candle.
- Bergamot essential oil contains compounds that can be sensitizing in some individuals. If you have known citrus sensitivities, consider substituting (see Variations below).
- These are candles, not skin-contact products. No patch testing is needed for this project. For any sage-based skin application, consult the homemade sage soap tutorial for skin-safe dilution guidance.
Ventilation
- Work in a well-ventilated space. Essential oils are volatile, and adding them to hot wax temporarily intensifies their presence in the air.
Step-by-Step Instructions
Step 1: Prepare Your Vessels
Wipe the inside of each glass vessel with a dry paper towel to remove any dust or moisture. Adhere a wick sticker to the metal wick tab and press each wick firmly to the center of the vessel bottom. Let the adhesive set for a few minutes before proceeding. Lay a chopstick or wick bar across the top of each vessel and loop the wick around it to hold the wick upright and centered.
Step 2: Measure and Melt the Wax
Weigh 16 oz (454 g) of soy wax flakes using your kitchen scale. Add the flakes to your pouring pitcher or double boiler insert. Heat gently over a water bath, stirring occasionally with the silicone spatula. Monitor the temperature with your thermometer. Soy wax typically melts fully between 120°F and 145°F (49°C to 63°C). Do not exceed 185°F (85°C).
Step 3: Allow Wax to Cool Slightly
Once fully melted and clear, remove the wax from heat. Allow it to cool to between 130°F and 140°F (54°C to 60°C) before adding essential oils. Adding fragrance to wax that is too hot causes the oils to volatilize and dissipate before the candle even cures. A thermometer is not optional here: it is the most important tool in your kit.
Step 4: Blend Your Essential Oils
While the wax cools, pre-blend your essential oils in a small glass dropper bottle or ramekin. Combine 48 drops of garden sage, 24 drops of sweet orange, and 12 drops of bergamot. Swirl gently to integrate. Pre-blending allows you to add the fragrance quickly and efficiently when the wax hits the correct temperature.
Step 5: Add the Fragrance Blend
When the wax reaches 130°F to 140°F, pour your pre-blended essential oil mixture directly into the wax. Stir slowly and steadily for a full two minutes. This step matters more than most tutorials acknowledge. Thorough, consistent stirring helps bind the fragrance to the wax rather than leaving it to separate or settle unevenly.
Step 6: Pour the Candles
Pour the scented wax slowly and carefully into your prepared vessels, filling to about half an inch below the rim. Pour from a low height to minimize air bubbles. Check that wicks remain centered. If a wick shifts, gently reposition it using a toothpick before the wax sets.
Step 7: Cool Completely
Place your candles on a flat, level surface away from drafts, fans, or air conditioning vents. Do not move them while the wax is liquid or semi-solid. Allow them to cool at room temperature for a minimum of 24 hours. Soy wax can develop a frosty or mottled appearance as it cools. This is a natural characteristic of soy, not a defect.
Step 8: Trim the Wick and Cure
Once fully set, trim each wick to approximately one-quarter inch (6 mm) above the wax surface. For best scent performance, allow your candles to cure for an additional 24 to 48 hours before the first burn. Curing gives the fragrance more time to fully bind with the wax.
Step 9: First Burn
On the first burn, allow the wax to melt evenly across the full surface of the vessel before extinguishing the flame. This is called achieving a full melt pool, and it sets the pattern for all future burns. It typically takes one to two hours for an 8-ounce vessel. Skipping this step can cause tunneling in subsequent burns.
Storage Instructions and Shelf Life
Store finished candles in a cool, dry place away from direct sunlight. UV exposure can fade the scent and cause discoloration in soy wax over time. Keep lids on vessels when not in use to protect the fragrance.
Properly stored, soy candles made with essential oils are best used within 12 months. The fragrance may become subtler with time as the volatile compounds in the essential oils gradually dissipate, even in unburned candles. Label each candle with the pour date so you can track freshness easily.
Variations and Substitutions
For a Warmer, Spiced Profile
Replace the bergamot with 12 drops of black pepper essential oil. This swaps the floral citrus note for something drier and more resinous, which pairs beautifully with sage in cooler months.
For a Softer Scent
Reduce the sage to 30 drops and increase the sweet orange to 36 drops. The citrus forward version is lighter and may suit smaller rooms or shared spaces where a strong herbal presence is not desired.
For a Woodier Character
Add 12 drops of cedarwood essential oil (Cedrus atlantica) alongside the sage and reduce the orange accordingly. Sage and cedarwood have a natural affinity and create a candle that evokes a walk through dry, open terrain.
Wax Substitutions
If soy wax is unavailable, coconut wax is a close substitute. It accepts fragrance well and produces a similarly clean burn. Avoid paraffin if possible: it holds fragrance differently, and the scent throw calculations in this recipe are calibrated for natural waxes.
Vessel Substitutions
Vintage teacups, small ceramic crocks, or short wide-mouth mason jars all work well as candle vessels. Always verify that your chosen container is heat-safe before use. Thin glass, plastic, and most decorative ceramics are not suitable.
Frequently Asked Questions
Why does my soy candle look bumpy or frosted on top?
Frosting and uneven surfaces are natural characteristics of soy wax. They do not affect performance or scent. If you prefer a smoother top, try pouring at a slightly lower temperature, around 125°F, and avoid moving the candle while it cools.
The scent seems faint. What went wrong?
The most common causes are adding essential oils when the wax was too hot, insufficient stirring time, or not allowing the candle to cure. Essential oils in candles need full melt pool burns and adequate cure time to express fully.
Can I add dried sage leaves to the candle?
Placing dried botanicals on the wax surface is a popular aesthetic choice. Use caution: any plant material near an open flame is a potential fire risk. If you add herbs, ensure they are embedded flat in the wax surface and positioned well away from where the wick flame will reach. Never place botanicals in the wax near the wick.
Explore More Sage Crafts
Once you have made your candles, you may want to keep exploring what garden sage essential oil can do in a crafting context. The DIY sage beard oil tutorial is a good next step if you are interested in blending sage into a skin-safe grooming product. Each project uses the oil differently and builds a broader understanding of how this versatile botanical behaves across different carrier materials and applications.
Candle making is one of the most satisfying ways to work with essential oils. The process is tactile and deliberate. The reward is a finished object that carries your own scent preferences into a room, slowly and quietly, every time it burns. Pour with care, cure with patience, and enjoy the ritual.